


Before Tesla splitter shield repair, assess damage (cracks, chips, impact marks) and gather tools/materials. Remove shield, inspect for specific damage, select appropriate restoration techniques. Replace shield, ensuring proper alignment and secure mounting with high-quality fasteners. Apply sealant around mounting points for enhanced protection against moisture and corrosion.
Looking to fix your damaged Tesla splitter shield? This comprehensive guide will walk you through the process step-by-step. From assessing the extent of the damage to securing the replacement shield, each section provides crucial insights and practical tips. Whether you’re a seasoned DIY enthusiast or a Tesla owner seeking to maintain their vehicle’s aesthetic, this guide ensures a successful Tesla splitter shield repair. Get ready to restore your car’s sleek look without breaking the bank.
- Assess Damage and Gather Tools
- Remove and Inspect the Splitter Shield
- Replace and Secure the Shield Effectively
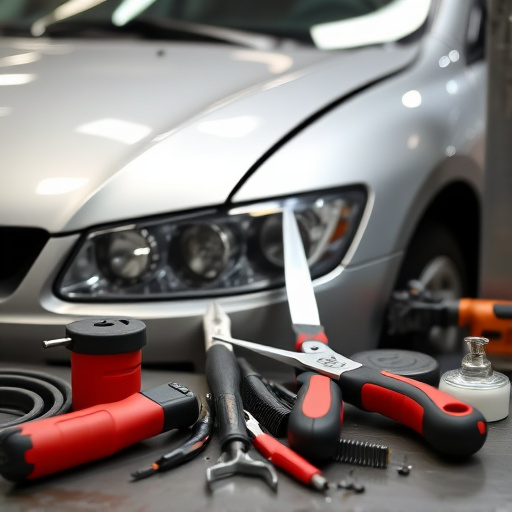
Assess Damage and Gather Tools

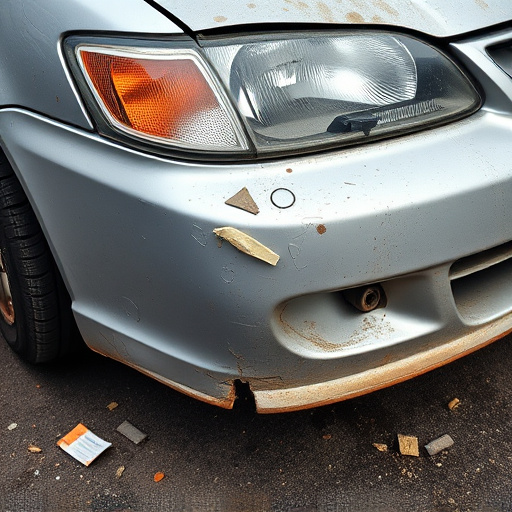
Before diving into the repair process, it’s crucial to properly assess the damage to your Tesla’s splitter shield. Start by inspecting the shield for cracks, chips, or any signs of deformation. Check for loose or missing pieces, as well as any impact marks that could affect structural integrity. This step is vital in determining the extent of the repair needed, whether it’s a simple fix or involves more complex auto glass repair.
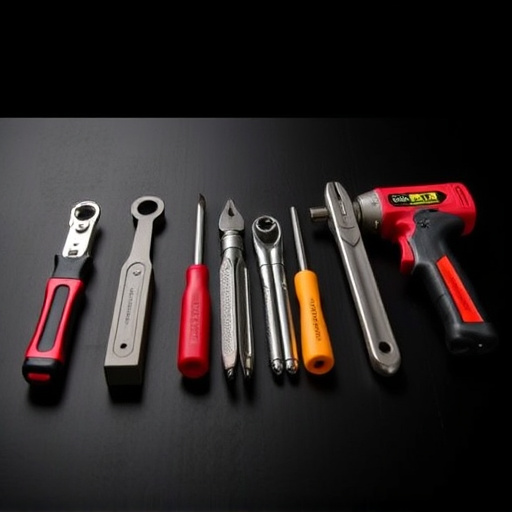
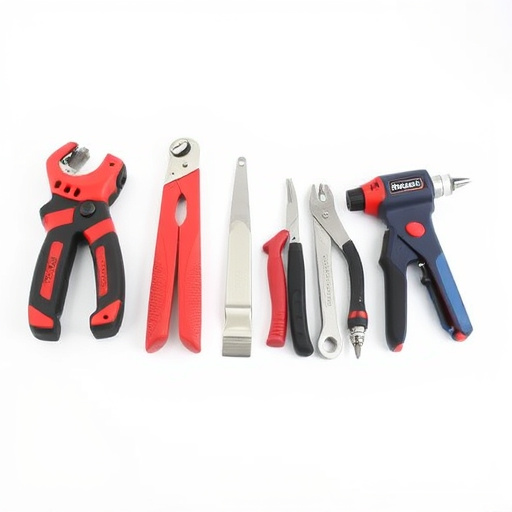
Gather all necessary tools and materials to ensure a successful Tesla splitter shield repair. Depending on the damage, you might need replacement parts, such as a new shield or sealing components. Additionally, stock up on common automotive tools like screwdrivers, pliers, and a putty knife. For more severe cases, consider visiting a reputable auto collision center for expert advice and assistance in acquiring the right materials to ensure your vehicle’s safety and aesthetics after the repair.
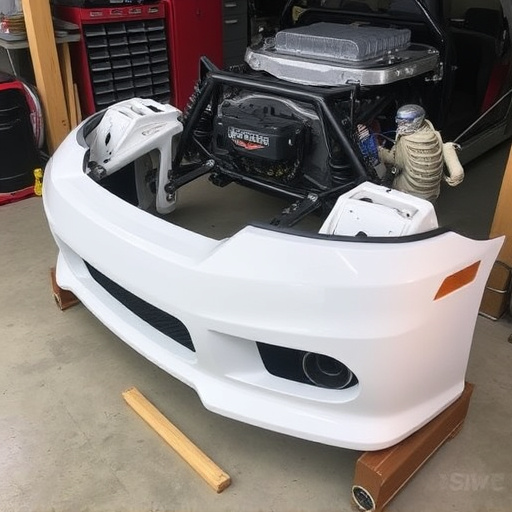
Remove and Inspect the Splitter Shield

When undertaking Tesla splitter shield repair, a meticulous approach is crucial for achieving optimal results. Begin by removing the damaged or worn-out splitter shield from your vehicle’s bodywork. Carefully unbolt and lift away the shield, taking note of its original placement and any associated components. This step is vital in ensuring a precise repair that aligns with your car’s aesthetic.
Inspecting the removed splitter shield closely reveals the extent of the damage, whether it be cracks, dents, or peeling paint. This visual assessment guides the repair process, dictating the necessary tools and techniques for restoration. In automotive restoration, paying attention to these details is key to achieving a seamless blend between the repaired area and the rest of your vehicle’s body.
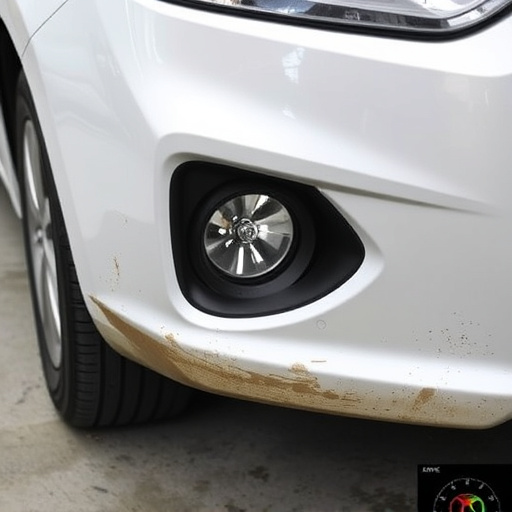
Replace and Secure the Shield Effectively
When replacing the Tesla splitter shield, ensuring it’s securely fastened is paramount to maintaining both functionality and aesthetics. Start by aligning the new shield with the vehicle’s edges, making sure all mounting holes are properly positioned. Next, use high-quality screws or bolts provided with the repair kit, tightening them evenly across the shield’s perimeter. This consistent tensioning prevents any gaps or misalignments that could compromise air dynamics or expose underlying components to potential damage during vehicle collision repair.
For optimal results in Tesla splitter shield repair, consider using a suitable sealant around the mounting points. This step acts as an extra layer of protection against moisture intrusion and corrosion, enhancing the longevity of your replacement shield. By following these meticulous steps, you not only ensure a secure fit but also contribute to preserving the vehicle’s original appearance, avoiding the need for extensive vehicle paint repair in the future.
Repairing your Tesla’s splitter shield is a manageable task with the right knowledge. By following these simple, step-by-step instructions, you can effectively assess, remove, and replace the damaged shield, ensuring your vehicle maintains its sleek and functional design. Remember, proper tools and a systematic approach are key to achieving a successful Tesla splitter shield repair.