

Tesla splitter shield repair begins with a thorough assessment of damage, including cracks, breaks, and rust. Essential tools include hex keys, wrenches, a removal kit, heat gun, dust masks, and safety goggles. Gather adhesives, epoxy, and precision tools for DIY repairs or seek professional collision services for extensive damage.
“Looking to tackle a Tesla splitter shield repair? This comprehensive guide is your go-to resource. First, learn to assess damage and identify common issues with your Tesla’s protective shield. Then, equip yourself with the essential tools for a successful DIY or professional repair. Our step-by-step process breaks down the fix, ensuring you’re prepared for every twist and turn. Conquer that split shield, enhance vehicle protection, and keep your Tesla looking its best – all with the knowledge from this article.”
- Assessing Damage: What to Look For
- Essential Tools for Effective Repair
- Step-by-Step Guide: Fixing Your Tesla Splitter Shield
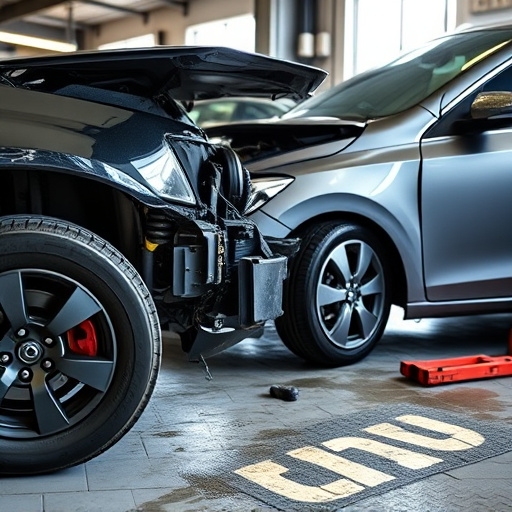
Assessing Damage: What to Look For
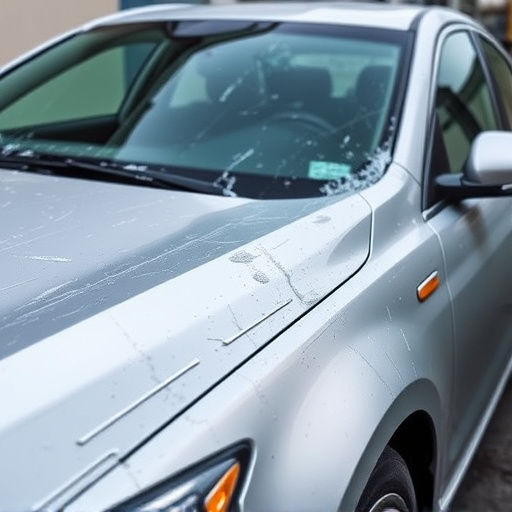
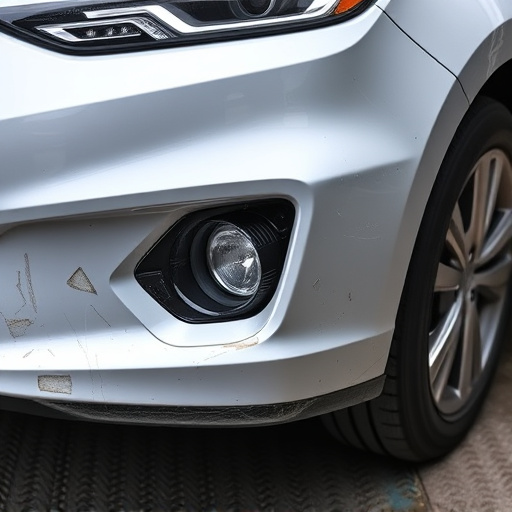
When it comes to Tesla splitter shield repair, the first step is a thorough assessment of the damage. Start by inspecting the shield for any visible cracks or breaks, as these are common indicators of a need for repair. Look for chips, scratches, and dents that could compromise the structural integrity of the component. Remember, even minor damages can affect the overall performance and appearance of your Tesla’s front bumper.
During this process, pay close attention to the edges of the shield, as well as any visible gaps or misalignments. These can often be signs of more significant underlying issues that require professional automotive repair services. Properly identifying these problems is key to ensuring effective vehicle body repair and preventing further deterioration. Additionally, if there are signs of rust or corrosion, especially in older models, it may indicate a need for dent removal techniques to restore the shield’s condition.
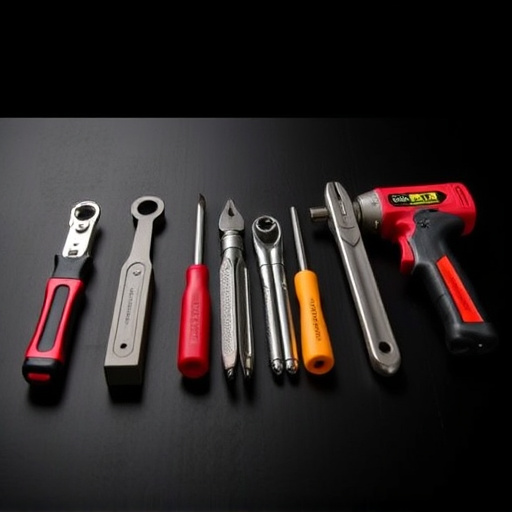
Essential Tools for Effective Repair
When it comes to Tesla splitter shield repair, having the right tools is essential for achieving a precise and professional result. For this type of auto repair, you’ll need a mix of both basic and specialized equipment. Basic tools like a set of high-quality hex keys and wrenches allow for secure fastening and tightening during the repair process. Specialized tools such as a Tesla-specific splitter shield removal kit streamline the disassembly and reassembly, ensuring minimal damage to surrounding components.
Additionally, an automotive body shop or collision repair shop might find it beneficial to invest in a heat gun for warming up hard-to-reach areas and making adjustments without causing stress on the material. A dust mask and safety goggles are also crucial for protecting against debris and ensuring a safe work environment during Tesla splitter shield repair. The right tools make all the difference, enabling efficient repairs that restore your Tesla’s aesthetic appeal and structural integrity.
Step-by-Step Guide: Fixing Your Tesla Splitter Shield
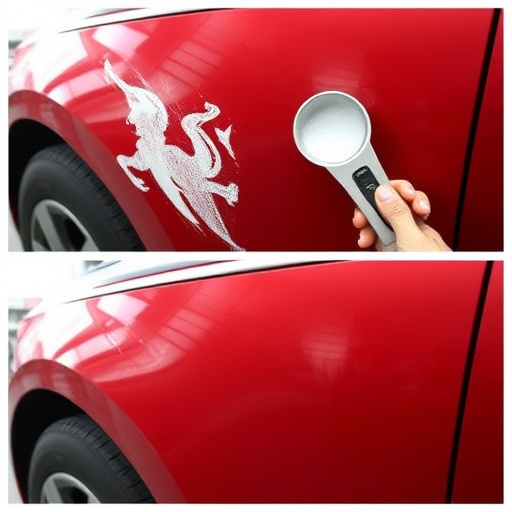
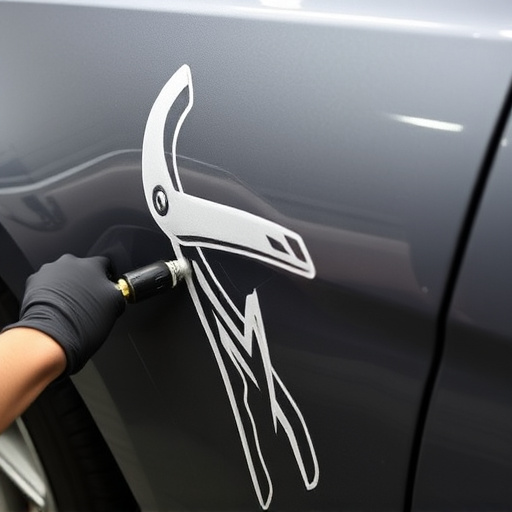
Fixing your Tesla Splitter Shield is a manageable task with the right tools and a straightforward approach. Here’s a step-by-step guide to help you navigate this process. First, gather all necessary tools for Tesla splitter shield repair, including specialized adhesives, epoxy, and a set of precision tools like needle nose pliers, screwdrivers, and a putty knife. Ensure your work area is clean and well-lit before beginning.
Inspect the damage carefully, identifying any cracks or gaps in the shield. Apply the adhesive along the affected areas, following manufacturer instructions for curing time. Once the adhesive is set, use the putty knife to fill in any remaining voids with epoxy, smoothing the surface for a seamless finish. After the epoxy dries, carefully align and secure any loose components using your precision tools, completing the repair process. For more significant damage like hail damage repair or automotive collision repair, consider professional collision repair services for a flawless restoration.
When it comes to repairing your Tesla splitter shield, having the right tools is essential. By following the step-by-step guide and utilizing the essential tools mentioned in this article, you can effectively assess and fix damage to your vehicle’s splitter shield. Remember, a proper repair job not only enhances the aesthetics of your Tesla but also ensures optimal performance and protection for years to come, making it a worthwhile investment for any car owner. For all your Tesla splitter shield repair needs, have confidence in tackling the task with these recommended tools at hand.