


Inspect Tesla splitter shield for cracks, dents, corrosion, and water intrusion. Use specialized tools for accurate repair, achieving a seamless finish that matches the car's original state. Follow a guide emphasizing preparation, precision, and using essential tools for DIY repairs, or consult a professional luxury vehicle service.
“If your Tesla’s splitter shield is damaged, don’t panic—it’s a fixable issue. This comprehensive guide equips you with the knowledge and tools needed for a successful Tesla splitter shield repair. From assessing damage like cracks or dents to identifying essential tools and understanding the step-by-step process, we’ve got you covered. Learn how to restore your vehicle’s sleek look without breaking the bank. By the end, you’ll be confident in tackling this common Tesla maintenance task.”
- Assessing Damage: What to Look For in Your Tesla Splitter Shield
- Essential Tools for Successful Tesla Splitter Shield Repair
- Step-by-Step Guide: Fixing Your Tesla's Splitter Shield at Home
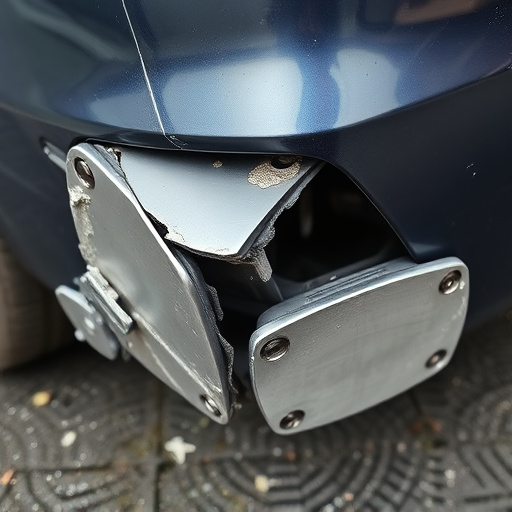
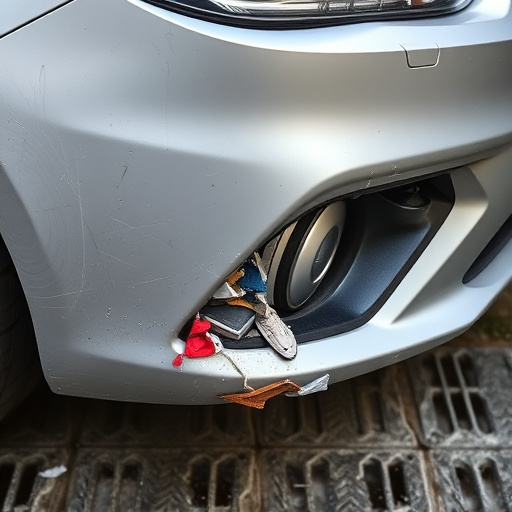
Assessing Damage: What to Look For in Your Tesla Splitter Shield
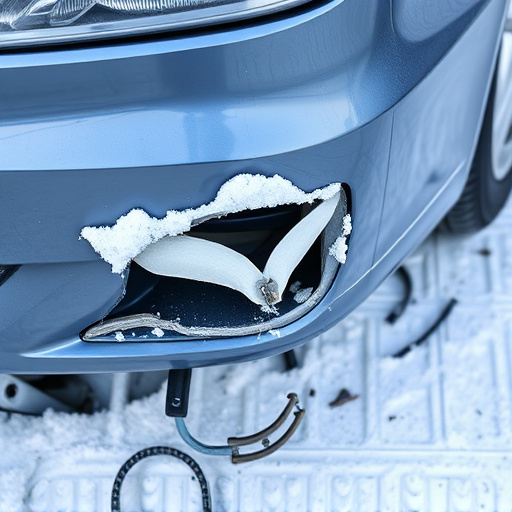
When assessing damage to your Tesla splitter shield, it’s crucial to look for several key indicators. Start by visually inspecting the shield for any visible cracks, dents, or gouges. These can often be spotted with a simple glance, but for more subtle damage, use a flashlight or magnifying glass to check for microscopic fissures or deformities. Next, check for loose or missing components, such as rivets or screws, which may have come undone during an accident or due to normal wear and tear.
Additionally, pay close attention to any signs of corrosion or rust, especially if your Tesla has been exposed to harsh weather conditions. Corrosion can weaken the structural integrity of the shield, making repair more complex. Also, look for evidence of water intrusion, as this could indicate a larger issue with the vehicle’s sealing system. Remember that proper diagnosis is key, and if you’re unsure about any aspect of the damage, don’t hesitate to consult a professional luxury vehicle repair service or classic car restoration expert.
Essential Tools for Successful Tesla Splitter Shield Repair
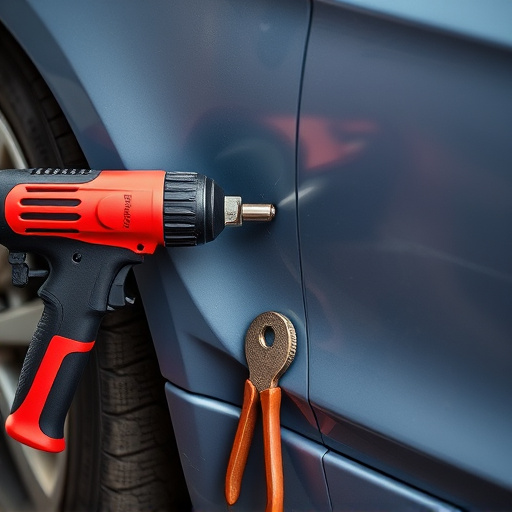
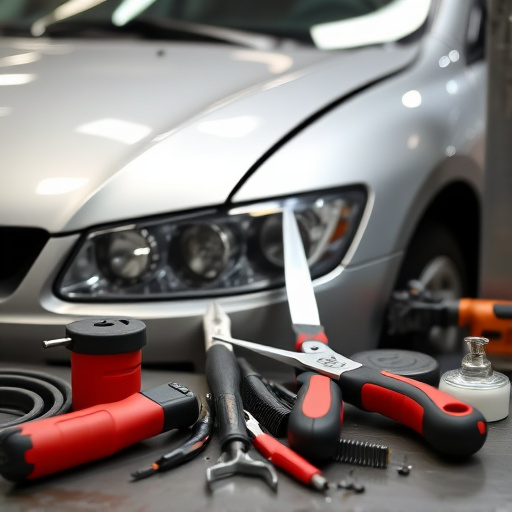
When it comes to Tesla splitter shield repair, having the right tools is paramount to achieving a successful and durable fix. The process requires precision and expertise to match the vehicle’s original quality. Essential tools for this task include specialized screwdrivers compatible with Tesla models, allowing for secure removal and reinstallation of components without damaging the surrounding areas. Additionally, a set of high-quality pliers is indispensable for gripping and manipulating tight spaces, ensuring accurate adjustments during repair.
For those tackling Tesla splitter shield repair due to collision damage repair or car body repair needs, an investment in these fundamental tools will pay off. They enable effective removal of damaged or dented panels, facilitating precise replacement with minimal waste. Furthermore, a good set of measuring tools and sandpaper can help achieve seamless finishes, making the repair almost indistinguishable from the original automotive repair.
Step-by-Step Guide: Fixing Your Tesla's Splitter Shield at Home
Fixing your Tesla’s Splitter Shield at Home: A Step-by-Step Guide
Before tackling any DIY project, ensure you have all the necessary tools for Tesla splitter shield repair. Gather a variety of items commonly found in car paint services and collision repair shops. Start with safety gear like gloves and eye protection to prevent accidents during the process. Next, acquire the right adhesives and sealants designed for automotive applications, as these will ensure a durable fix. A fine-toothed brush and a can of matching car paint repair kit are also essential to match your Tesla’s original finish perfectly.
Begin by removing any loose debris from the damaged area using a soft cloth or compressed air. Carefully sand the surface to create a smooth base for application. Clean the shield thoroughly to eliminate any grease or dust, as this will ensure better adhesion. Apply the adhesive along the edges and corners of the shield, pressing firmly into place. Allow it to set according to the manufacturer’s instructions before applying the sealant for added protection. Finally, use your paint repair kit to touch up any remaining imperfections, matching the color and finish precisely with your Tesla’s original design.
When it comes to repairing your Tesla’s splitter shield, having the right tools is key. By following the step-by-step guide and utilizing the essential tools mentioned in this article, you can successfully fix the damage and restore your vehicle’s aesthetic appeal. Remember, a little bit of knowledge and the proper tools go a long way in ensuring a seamless Tesla splitter shield repair process.