


Tesla splitter shield repair involves diagnosing and replacing damaged components after thorough cleaning and preparation. Specialized shops use exact replacements and advanced techniques to ensure aerodynamic performance and aesthetic consistency. Regular maintenance through washing, waxing, and coatings further enhances fuel efficiency and airflow.
Tesla owners often face the challenge of damaged splitter shields, a component crucial for both aesthetics and aerodynamic efficiency. This article guides you through understanding common causes of Tesla splitter shield damage and offers a step-by-step repair process using high-quality parts for optimal results. We also share tips to enhance your vehicle’s aerodynamic performance post-repair, ensuring your Tesla not only looks great but also cuts through the wind with improved agility. Learn how to effectively address and prevent future issues with your Tesla splitter shield repair.
- Understanding Tesla Splitter Shield Damage and Causes
- Repair Process: Step-by-Step Guide for Optimal Results
- Enhancing Aerodynamic Efficiency Post-Repair: Tips and Best Practices
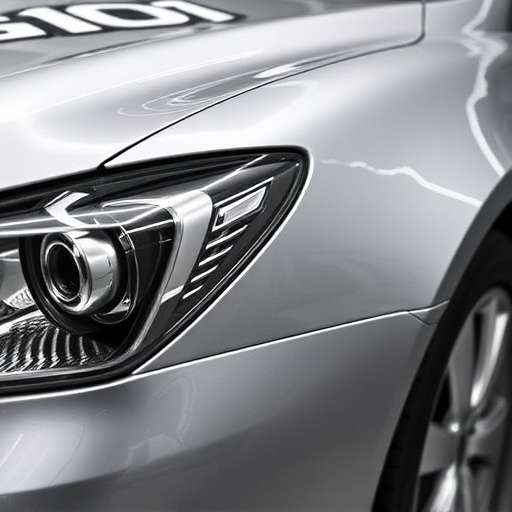
Understanding Tesla Splitter Shield Damage and Causes
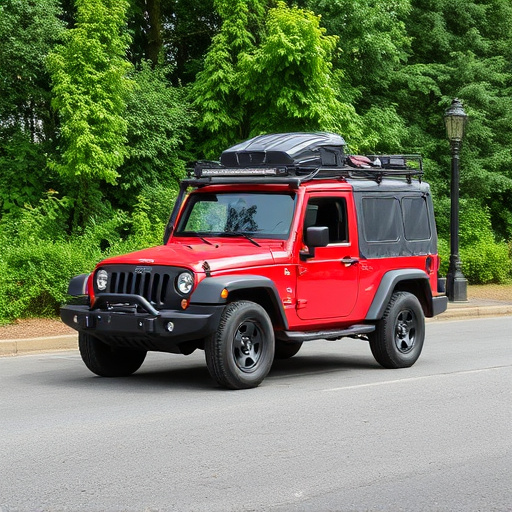
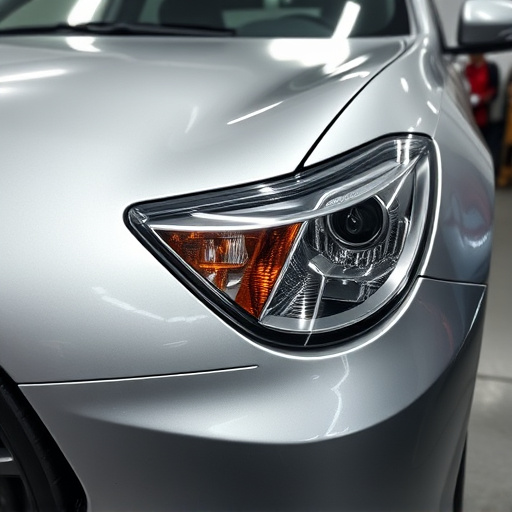
Tesla Splitter shields, located at the front of Tesla vehicles, play a vital role in both aesthetics and vehicle protection. Damage to these components can arise from various incidents, including auto collisions, road debris impact, or even minor scratches and nicks. Understanding the common causes of Tesla splitter shield damage is the first step towards effective repair and restoration.
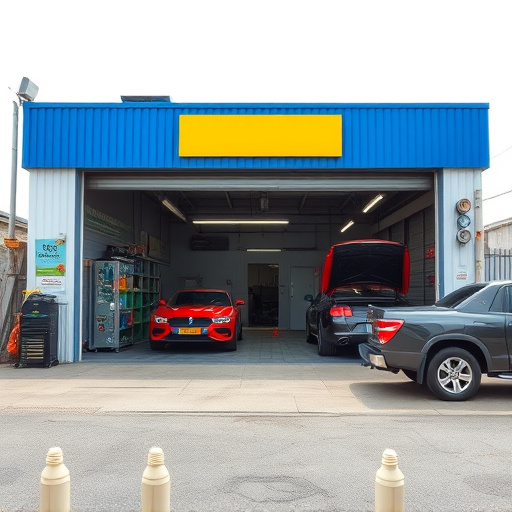
An auto collision center specializing in Tesla repairs can diagnose issues ranging from bent or cracked shields to loose or missing components. Proper assessment ensures that only authorized auto repair services are utilized for replacement parts, maintaining the vehicle’s aerodynamic efficiency. Vehicle bodywork experts use advanced techniques to mend or seamlessly integrate new splitter shields, ensuring your Tesla not only looks as good as new but also retains its optimal performance on the road.
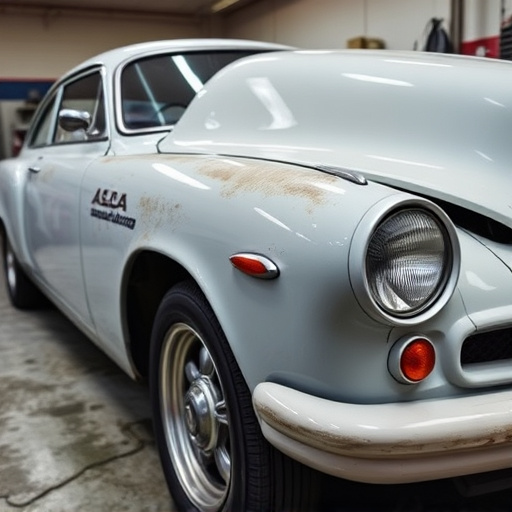
Repair Process: Step-by-Step Guide for Optimal Results
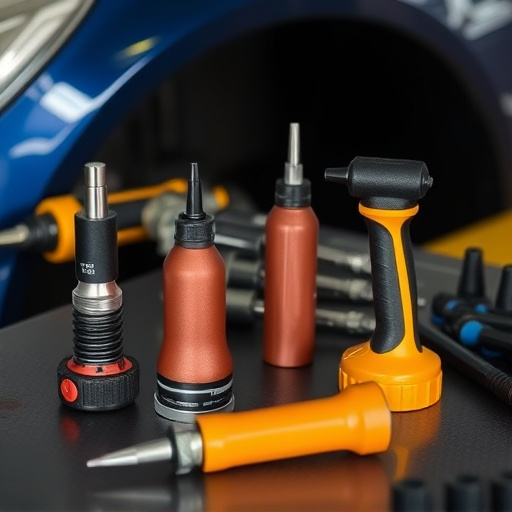
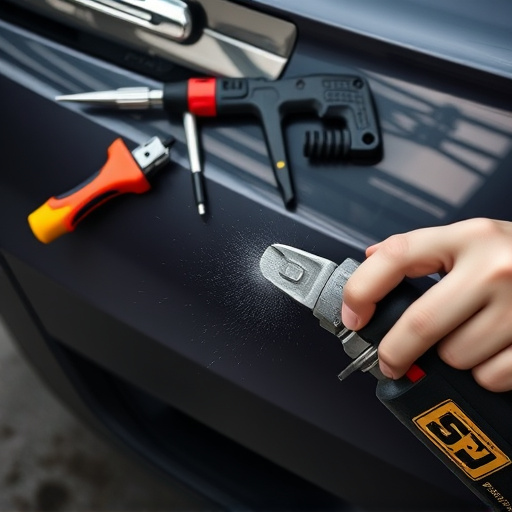
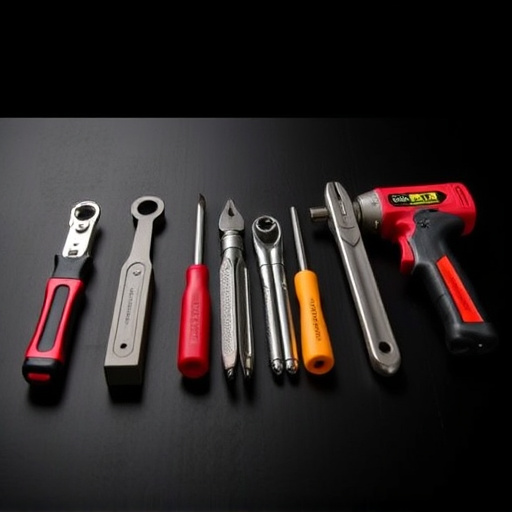
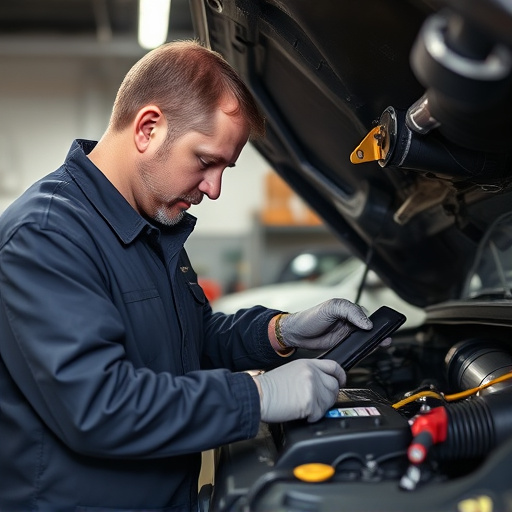
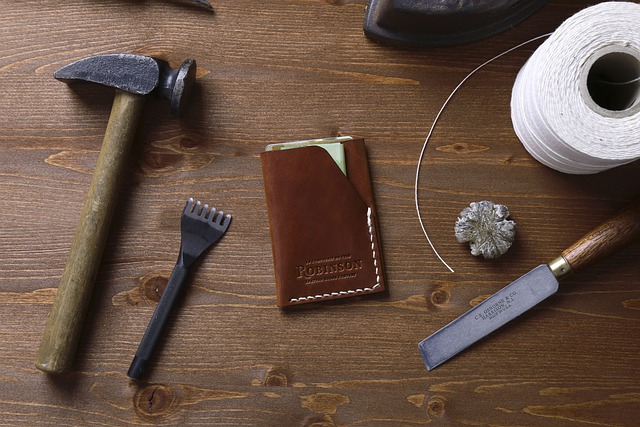
Repairing a Tesla splitter shield requires precision and care to ensure optimal aerodynamic efficiency. Here’s a step-by-step guide for achieving top-notch results. Begin by thoroughly inspecting the damage, identifying any dents or cracks in the splitter shield. Using specialized tools designed for automotive body work, carefully remove the damaged portion without causing further deformation. Next, acquire high-quality replacement parts that perfectly match your Tesla’s specifications.
Prepare the surface by cleaning and decontaminating it to ensure a solid bond. Apply an adhesive suitable for both automotive and classic car restoration projects, adhering to the replacement piece with firm pressure. Once set, carefully sand any excess material and apply a coat of primer for a seamless finish. Finally, paint the repaired area matching your Tesla’s original color, ensuring dent removal is unnoticeable and the overall aesthetic remains consistent.
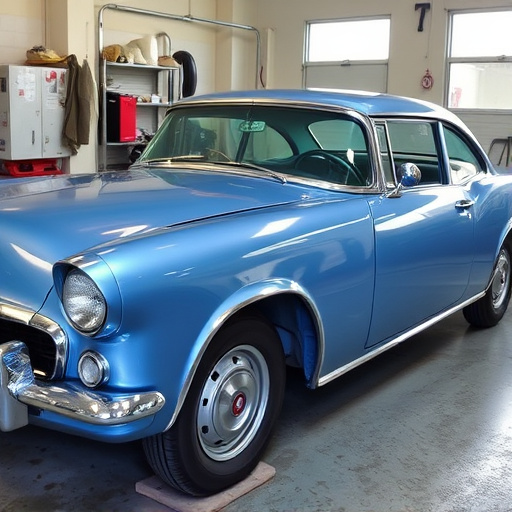
Enhancing Aerodynamic Efficiency Post-Repair: Tips and Best Practices

Post-Tesla splitter shield repair, enhancing the aerodynamic efficiency of your vehicle can lead to significant improvements in performance and fuel economy. Here are some tips and best practices to consider. First, ensure that all repairs are meticulously executed, with precision and care, to maintain the integrity of your luxury vehicle’s bodywork. A car body shop specializing in Tesla models should be able to handle both the repair and any necessary adjustments to restore optimal aerodynamic flow.
After the repair, focus on minimizing drag by checking for any loose or damaged components around the splitter shield area. Regular washing and waxing can also help, as a smooth, clean surface contributes to better airflow. Additionally, consider the use of specialized coatings that repel dirt and water, enhancing your vehicle’s overall aerodynamic efficiency, just like a sleek design in a car body shop would.
Tesla splitter shield repair is not only a practical solution to damaged vehicle aesthetics but also an opportunity to enhance aerodynamic efficiency. By following the step-by-step guide provided, car owners can ensure optimal results in the repair process. Post-repair, implementing simple tips and best practices can significantly improve the vehicle’s aerodynamic performance, contributing to better fuel economy and overall driving experience. Remember, a well-maintained Tesla splitter shield is key to both visual appeal and efficient driving dynamics.