


Tesla splitter shields require repair due to collisions, debris, and wear. Auto body shops assess damage (scratches to detachment) for adhesive or fastener fixes—seamless restore vs. structural support. Repair involves tool preparation, shield removal, residue cleaning, frame inspection, and precise reinstallation to maintain vehicle aesthetics and value.
Tesla vehicles are renowned for their sleek design, but even the most carefully crafted exterior can suffer damage. One common issue is the Tesla splitter shield repair, affecting the vehicle’s front bumper. This article delves into understanding the causes of such damage and offers a comprehensive guide to repairing it using adhesives or fasteners. We explore the pros and cons of each method to ensure optimal results, followed by a step-by-step process for effective replacement.
- Understanding Tesla Splitter Shield Damage and Causes
- Adhesive vs Fastener Repair Methods for Optimal Results
- Step-by-Step Guide: Effective Splitter Shield Replacement Process
Understanding Tesla Splitter Shield Damage and Causes
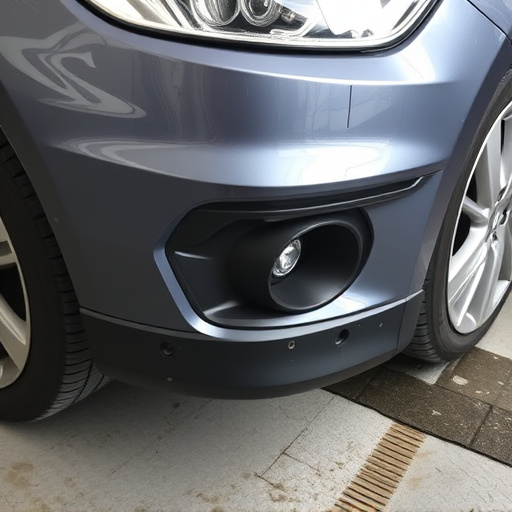
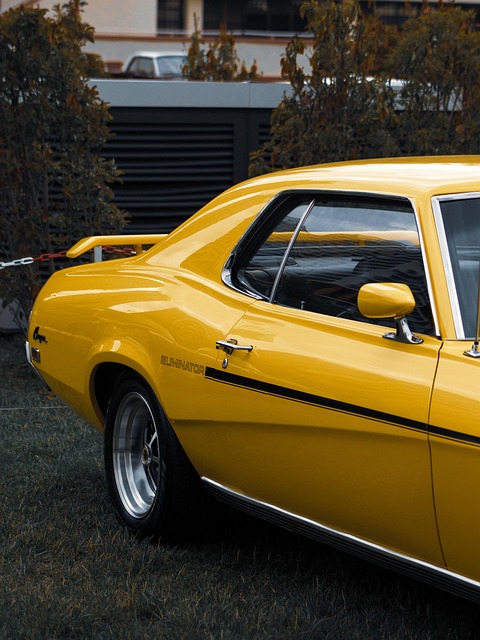
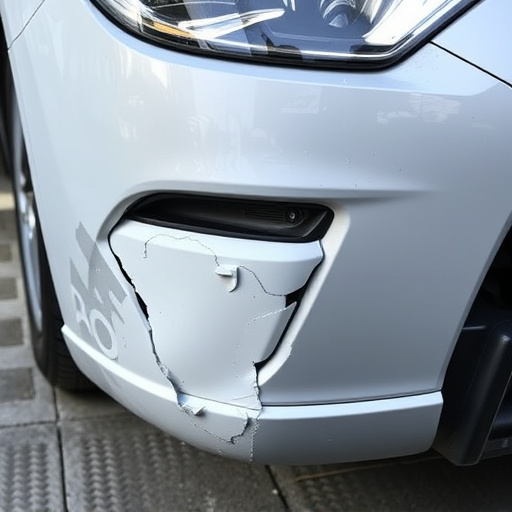
Tesla Splitter shields, located at the front of Tesla vehicles, are integral to both the car’s aesthetics and safety. Damage to this component can arise from various factors, including vehicle collisions, road debris, or even minor scratches and dents over time. Understanding the common causes of Tesla splitter shield damage is essential for owners looking into Tesla splitter shield repair.
Auto repair services specializing in electric vehicles often attribute many cases of splitter shield damage to vehicle collision repair. High-speed impacts can cause deformations, cracks, or complete detachment of the shield. Regular wear and tear, while less dramatic, can also lead to issues, especially with frequent exposure to harsh weather conditions. Identifying the specific type of damage is crucial in determining whether a simple fix with adhesives or more complex fastener applications is required during body shop services.
Adhesive vs Fastener Repair Methods for Optimal Results
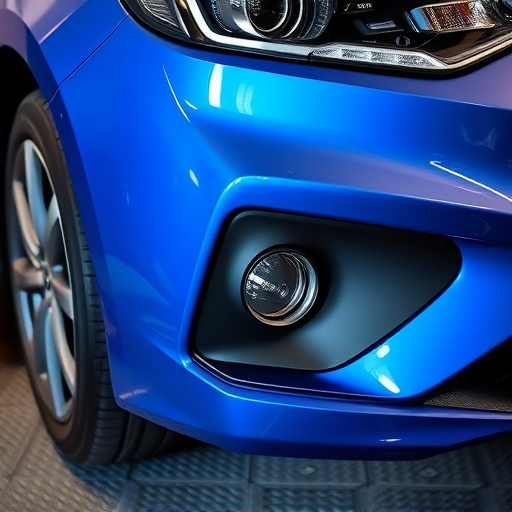
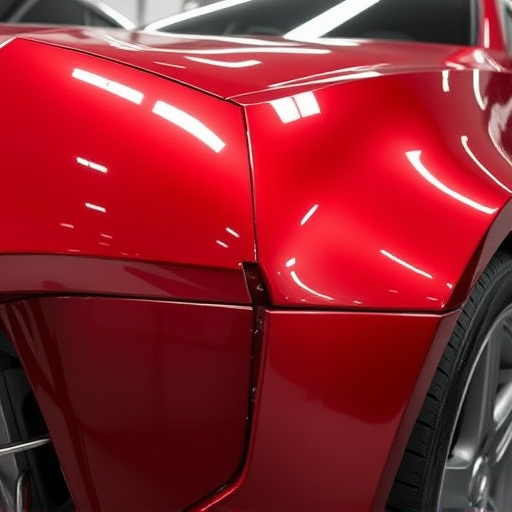
When it comes to Tesla splitter shield repair, choosing between adhesive and fastener methods depends on your desired results and the extent of the damage. Adhesives offer a seamless bond, ideal for restoring the original look of the component. They provide a strong hold while eliminating the need for drilling or bolting, preserving the vehicle’s aesthetics in automotive restoration projects.
On the other hand, fastener repairs are suitable for more complex or structural issues. Using bolts and nuts allows for easier disassembly and reassembly, making it a preferred method at auto body shops. Fasteners ensure precise alignment and can handle higher stress areas. However, they may leave visible marks, unlike adhesives that create an invisible bond. The choice should align with the repair’s scope, ensuring optimal results in Tesla splitter shield restoration.
Step-by-Step Guide: Effective Splitter Shield Replacement Process
Replacing a Tesla splitter shield is an important task for maintaining your vehicle’s aesthetic and functionality. Here’s a straightforward guide to ensure the process goes smoothly:
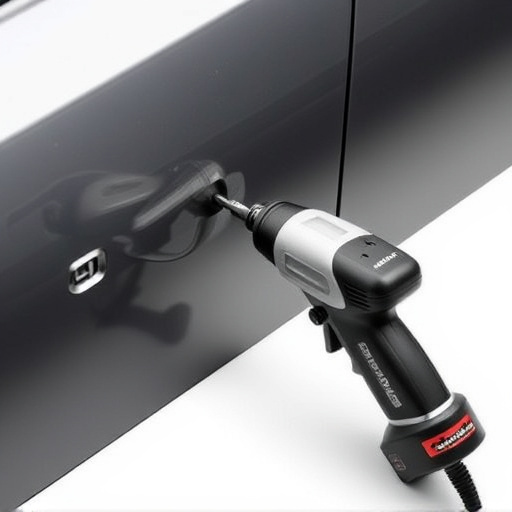
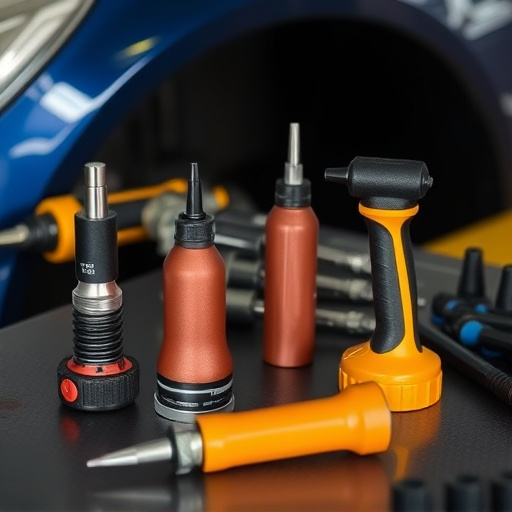
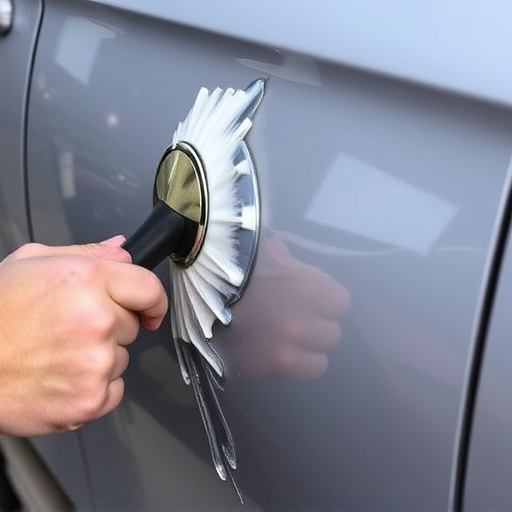
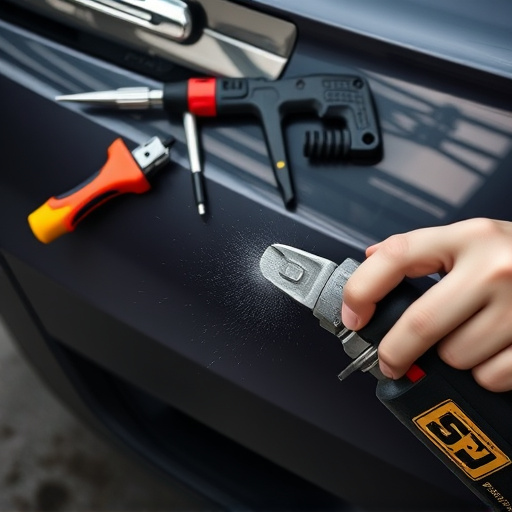
1. Preparation: Begin by gathering all necessary tools, including high-quality adhesives suitable for automotive applications or reliable fasteners like nuts and bolts. Ensure your work area is clean and well-lit. Remove any debris or old adhesive from the damaged shield using a suitable cleaner or solvent.
2. Removal & Inspection: Carefully unfasten or peel away the damaged splitter shield, taking note of how it was originally attached. Inspect the underlying frame for any signs of damage; this step is crucial in determining if additional repairs, like frame straightening, are needed. For fleet repair services, maintaining a consistent and professional finish is essential to preserve vehicle value.
In conclusion, repairing a Tesla splitter shield using either adhesives or fasteners is a viable solution for restoring your vehicle’s aesthetic appeal and functionality. By understanding the causes of damage and choosing the right repair method, you can achieve optimal results that match the quality and precision of Tesla’s original design. With a step-by-step guide in hand, the process becomes manageable, ensuring a smooth and effective splitter shield replacement. For efficient Tesla splitter shield repair, whether it’s adhesives or fasteners, this comprehensive approach will leave your vehicle looking as good as new.